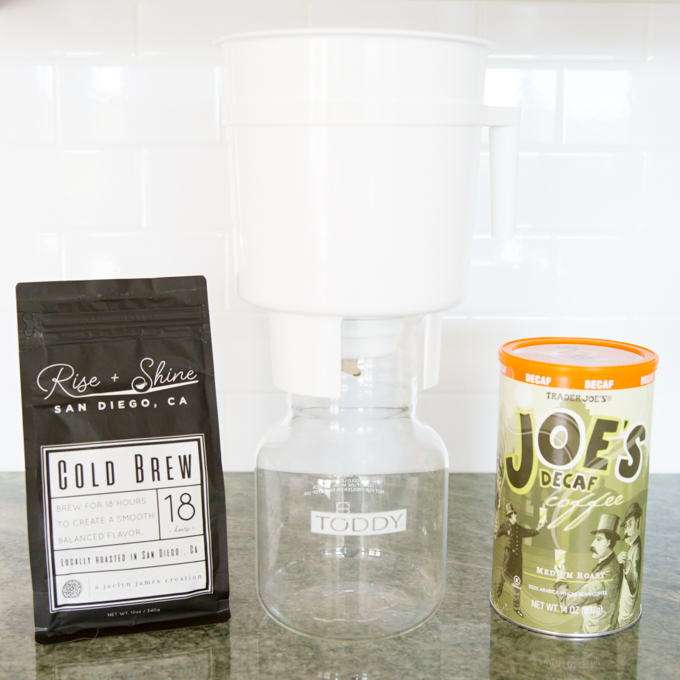
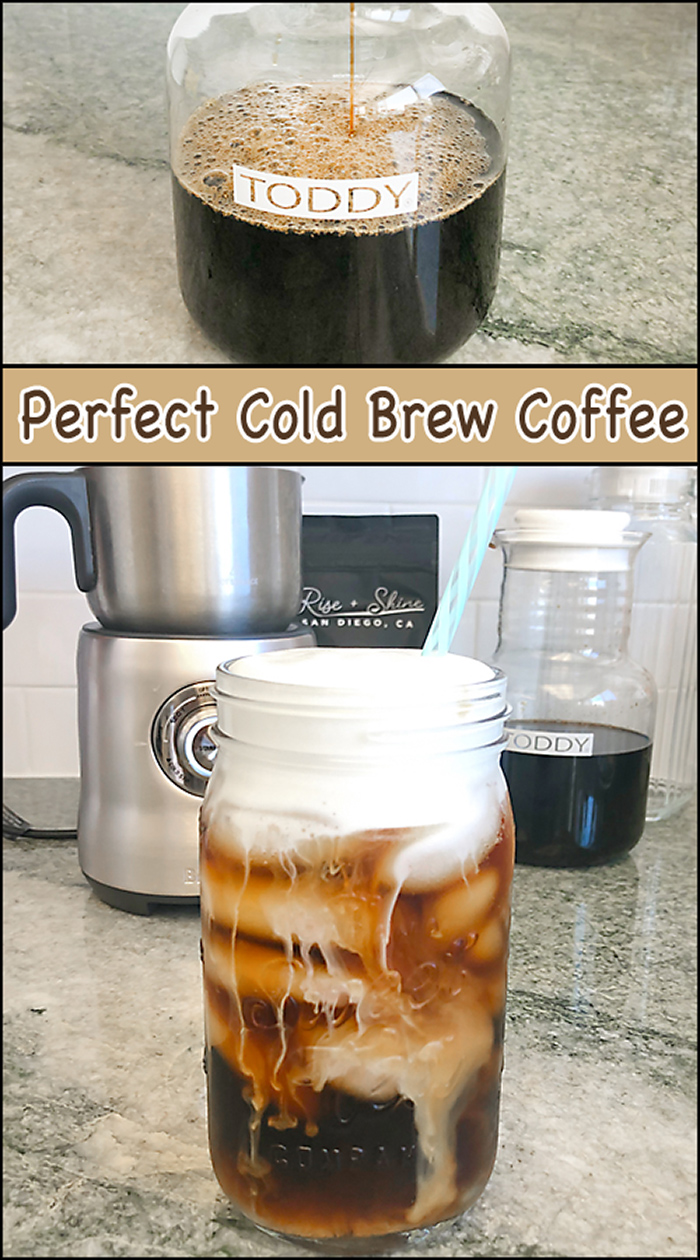
Have you mastered the art of making the Perfect Cold Brew? After trying a few different techniques and a few different brands of coffee beans, I finally have perfected my Perfect Cold Brew!! It’s rich, slightly sweetened, icy cold, and the froth is amazing! It’s exactly how I like it! But, if you prefer yours with a little more milk, non-diary, no sweetener, more ice, less ice, it’s all up to you! Make it how you like it!!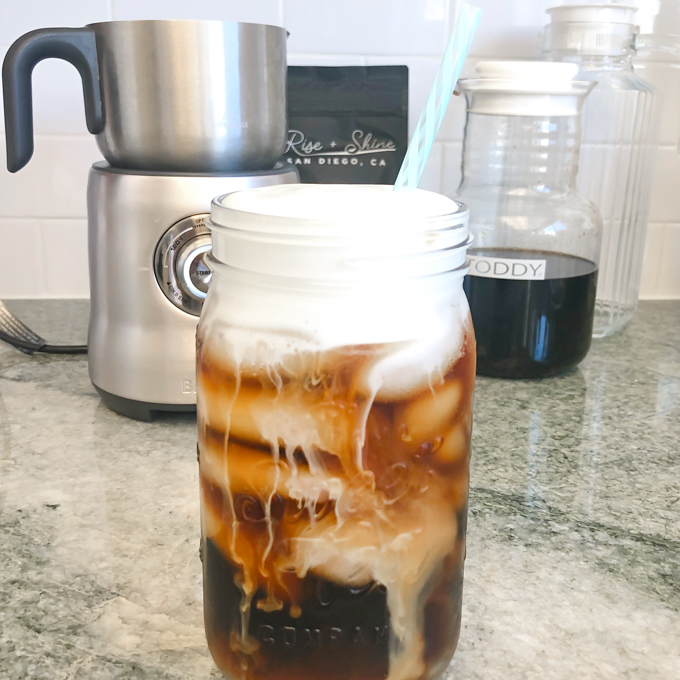 Let me show you how I make my cold brew. Obviously, since we’re making coffee, it all begins with the beans. My absolute favorite are my Rise & Shine Beans from Jaclyn James. She might, be more in love with coffee than I am (although I’m not sure that’s possible). I love that she has a (no obligation) subscription program for her Cold Brew Beans, and also that you can purchase them in bean form or course ground (which is the preferred grind for cold brew). The only problem I’ve found is that she currently isn’t offering a de-caf option, which I occasionally drink in the afternoon. In my opinion, her beans make the Perfect Cold Brew Coffee.
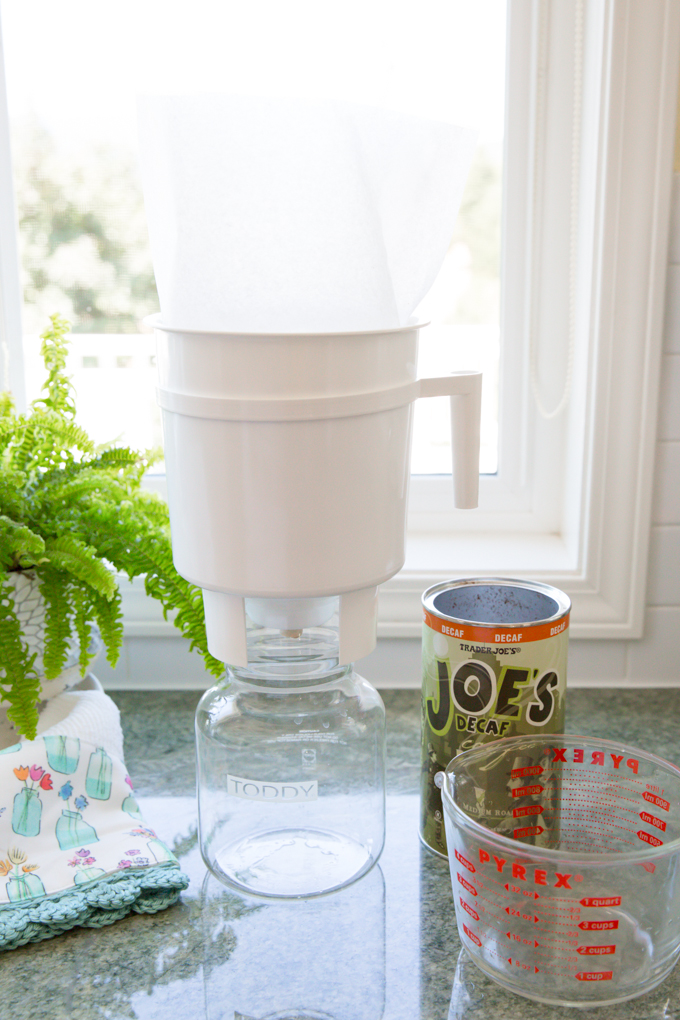
While TJ’s de-caf beans are good, they aren’t quite as good as the Rise & Shine blend from Jaclyn James & Co. Trader Joe’s also sells a caffeinated bean that is also good. Or, certainly feel free to use you favorite coffee bean. I know a lot of people enjoy a flavored bean, but, it’s just not my thing.
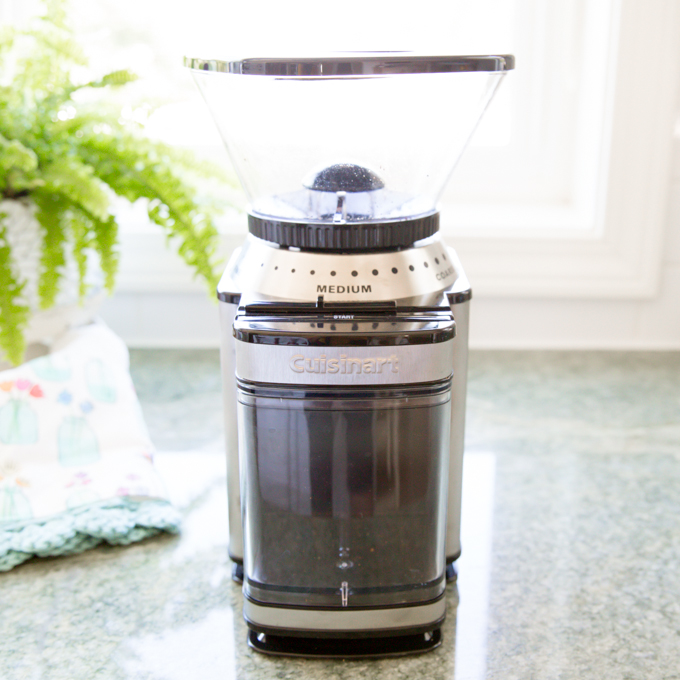
After multiple times of coming home from the grocery store and forgetting to grind my beans, I finally got a good grinder. The course grind on it is perfect for this cold brew and the capacity is large enough (I’ve seen many grinders with a very small capacity.
You will need a full bag of beans (12-14oz) to brew this, but don’t worry, the cold brew concentrate will last in your refrigerator for a couple of weeks.
Next up, after the beans and grinder, is the actual system to cold brew the beans into the Perfect Cold Brew Coffee. I use the Toddy system. It comes with great, easy to understand instructions. It’s also easy to clean when you’re finished, especially if you use the paper filter. Using the paper filter is optional, as there is also a re-usable filter (shown below next to the plug). I prefer to use the paper filter in addition to the disc filter.
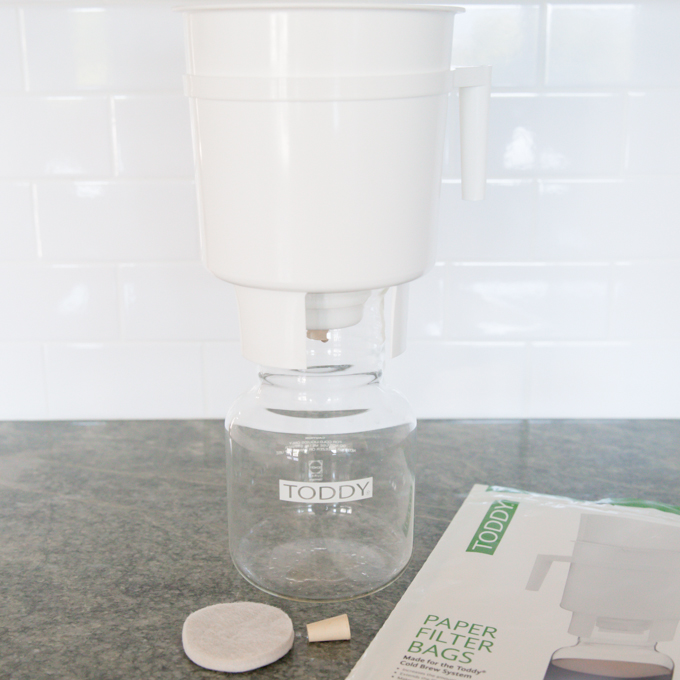
- Place the plug in the bottom of the filter caddy
- Dampen re-usable filter and place in bottom of caddy
- Insert paper filter
- Alternate adding course ground beans and 7 cups of filtered water (ending with water)
- Using a spoon, very gently mix the water & coffee to thoroughly wet the coffee. Use caution not to disturb the plug& filter at the bottom of the caddy
- Fold down the paper filter and place a small plate over the top (I just feel like it should be covered). Set on a safe place on your counter and now you wait.
- Waiting, waiting, waiting………for 18 hours!!! (give or take a couple)
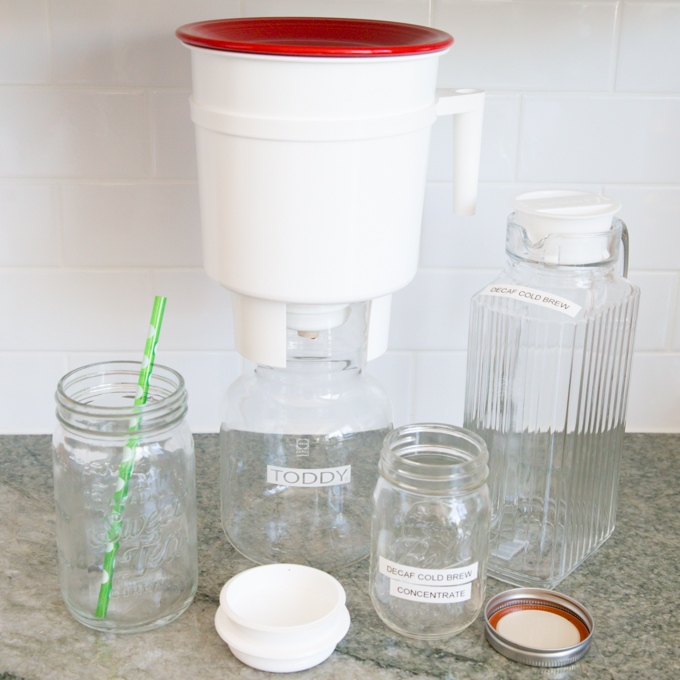
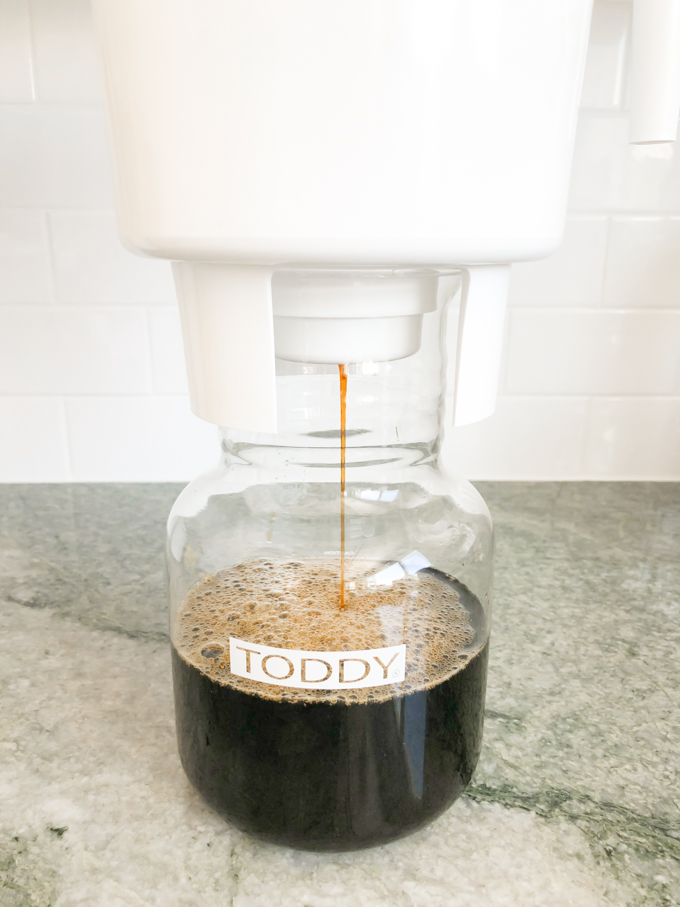
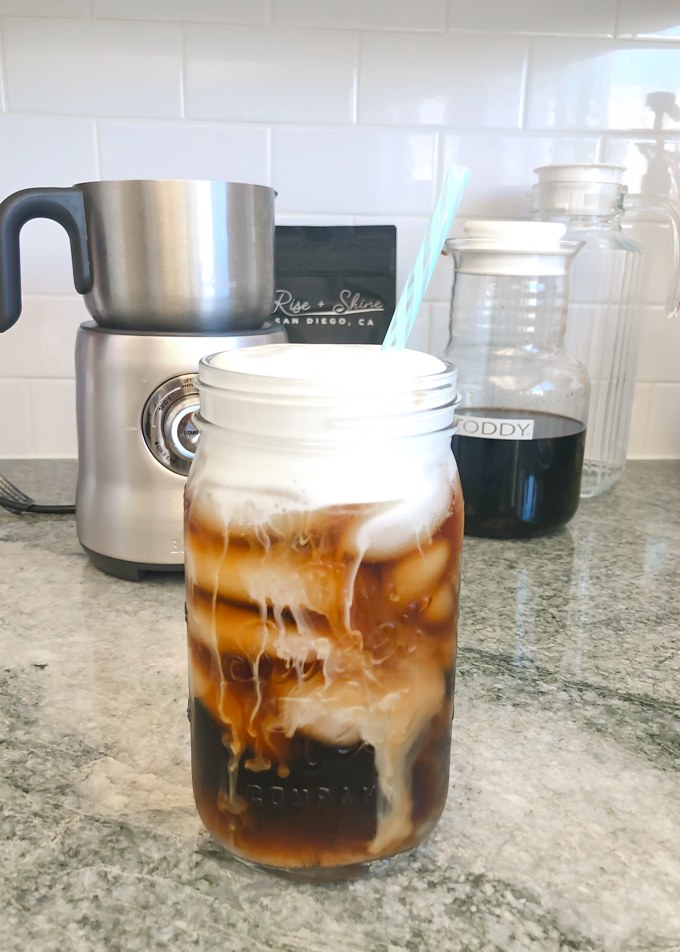
After it has brewed (for approx. 18 hours), gently pull the plug from the botton of the filter caddy. Let it drain until there is no more to drain! You can see that I’ve labeled a pitcher and also a small jar. Once the concentrate is finished. I make my first batch of “ready to drink”. The suggested ratio is 1 cup of concentrate to 2 1/2 cups filtered water. This “ready to drink” is still strong, since you typically add plenty of ice and milk to make your cold brew coffee. Feel free to adjust the coffee/water ratio to your own taste. I make a pitcher of “ready to drink” then the rest of the concentrate goes into the smaller jar and refrigerated until I need to mix up more “ready to drink.” The jar with the straw is my favorite glass to use every afternoon with my Perfect Cold Brew Coffee.
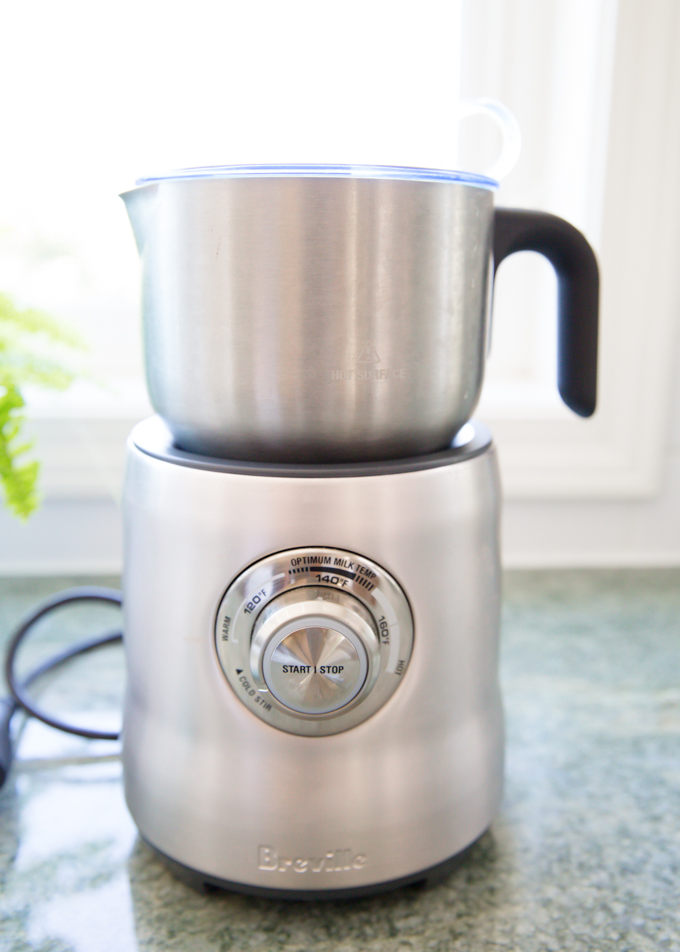
I have the Breville Frother at my house, and the Nespesso Frother at our little condo (because heaven knows I need to cold brew coffee even when I’m away from home). The Breville is definitely my favorite, but the Nespresso Frother is a little smaller, less expensive and does a decent job. You can froth any milk of your choice (1/2 & 1/2, full fat, 2%, non-fat, and even non-dairy). I’ve tried both regular full fat milk and also 2%. You might get a little thicker of a froth with the full fat, but both are good.
Once you have the “ready to drink” ready, it’s time to make your own glass of cold brew.
Here’s how I do mine:
- Begin by frothing the milk (following instructions that came with your frother). I sometimes add a packet of Stevia to the milk as it froths.
- Add a lot of ice to a big glass
- Fill (to your desired taste) with “ready to drink” cold brew (I like strong coffee, so I fill my glass about 3/4 full)
- Add a pump of vanilla syrup (optional)
- Top with your frothed milk
- Don’t forget a cute straw!!
- Enjoy!!
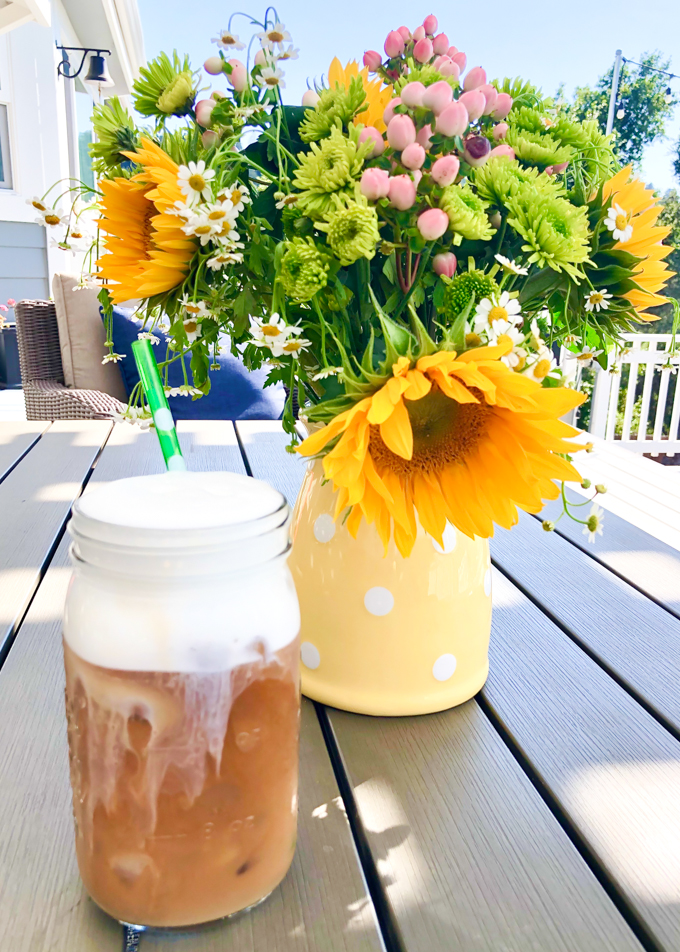
Don’t you agree, isn’t this the best way to enjoy a sunny summer afternoon!?!
I really hope this post has been helpful and that you are new ready to enjoy your Perfect Cold Brew Coffee!!
I love it if you’d share on Pinterest!
Here are a few of my favorite Amazon products (affiliate links) that I enjoy using with my Perfect Cold Brew Coffee. The only real necessary items are the Toddy System and the Milk Frother. I love having the grinder (in case I forget to grind my beans at the store) and the Luminarc Pitchers for serving the “ready to drink” cold brew. And, a few fun straws and drinkware just add to the experience of it being a treat!!
Enjoy my friends!!!
[…] The Iced Cold Brew was my post table setting treat!! You can get the info on that HERE. […]